Wednesday, September 11, 2013

iOS 7's Sprite Kit

Apple unveiled iOS 7 in Jun 2013, and recently confirmed that the new iOS 7 is to be staged on 18 Sep 2013. I am not a big fan of iOS7 flat design, but as an iOS developer I love the new OS so much because it gives developers a great tool SpriteKit to write games. Among those new features or APIs of iOS 7, the SpriteKit shall be top one.

Before Sprite Kit, writing Games for mobile needs strong knowledge in OpenGL ES, or build on top of third party game engines, e.g. Cocos2D, Unity, which handles low level OpenGL stuff for developers. It's easier to do games with third party engines, but there is still a substantial hurdle for a normal iOS App developer to write games. However, games are the most profitable category on the App Store, and iOS users love games, people love games. This is why the new Sprite Kit are so welcomed by iOS developers.

I had some experience with Cocos2d, it has a node based objects system together with Box2d and Chipmunk as the physics engine, and CocosDenshion as the sound engine, with all together developers can develop great games, and majority of 2D games on the App Store today are built with Cocos2D.

Apple's SpriteKit embraces a similar nodes system, actions, physics, and sound, all together in one framework, . I have tried some codes with it and found it is insanely simple to use. The framework is shared by Mac OS and iOS, integrated deeply with Cocoa and UIKit. That means games developed with SpriteKit can reuse/share a lot of code between both platforms. Apple has made a great documentation for the framework called 'Sprite Kit Programming Guide' and Apple is also very kind to provided a 'code explained' sample project called 'Adventure'. The sample project is coded for both Cocoa and iOS, and uses most of the features of the SpriteKit.framework. Developers can start to build games after finish learning the sample project.

screen capture of Adventure

The new Xcode 5 has also embedded some cool function to support SpriteKit. I have noticed that it has a built-in particle editor that is so simple and easy to use. Changes can be previewed at real time. Besides, the new Xcode also handles atlases for developers. Developers just need to put all images in a folder with special name, and the XCode will automatically create atlases for them during compile. Specially, to use any sprite from Altas, developers don't need to write any special code, just use it as a standalone image, call it with the name of the image. People used to edit particles and make atlases with third party tools when using Cocos2D.

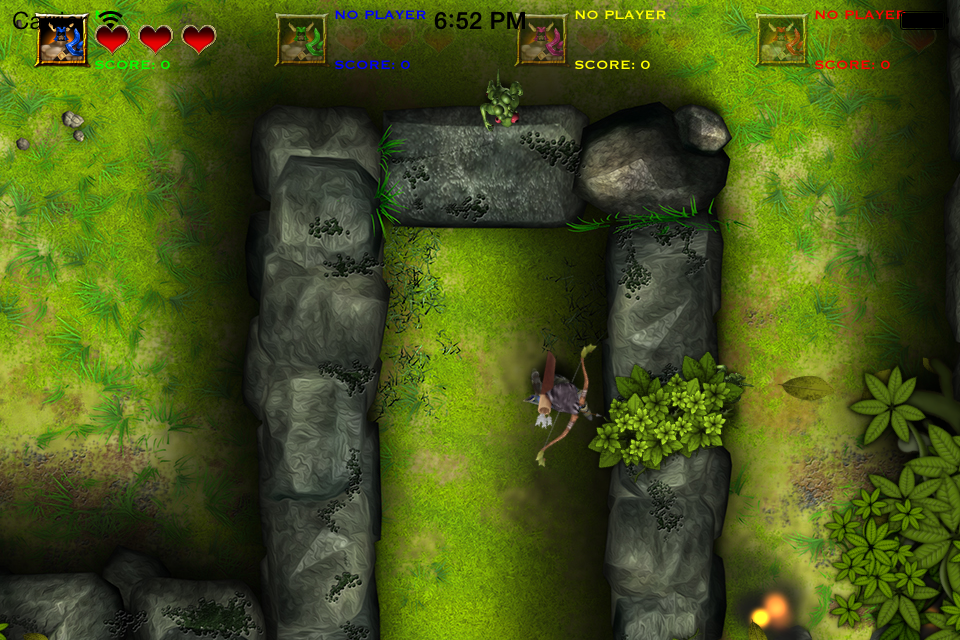
At this point, I am so excited about this new framework and so looking forward to making games. I think Apple is ambitious for Games, haven't mentioning that there is another new important Game related framework 'GameController.framework' came with iOS 7. GameController is the framework to talk to physical Game Controllers. Just look at the picture below you will get all what I am talking about. The whole thing together will bring gamer's experience to another level up.

Friday, April 12, 2013

UIWebView + javascript

Javascript is a very powerful tool for a web developer. iOS SDK's UIWebView can display a webpage or a html string. Most of time, developers just use the webpage for displaying. Actually, the SDK provides a little but powerful API for us to interact with the Web using javascript. It is :


- (NSString *)stringByEvaluatingJavaScriptFromString:(NSString *)script
 

From this method, we can pass in a string of javascript, and get return as as string. I am going to demonstrate some of the typical uses of this method.

The HTML code

the html code looks as following. style, div,p, script, those are typical elements that an usual html page has.

 
<style>
    #pageWrap{
        color:blue;
        font-size: 15px;
    }
</style>

<div id="pageWrap">
    <h2 id="demo-title">Demo Title</h2>
    <p>Demo text, just some dummy text here. Demo text, just some dummy text here. 
    Demo text, just some dummy text here. Demo text, just some dummy text here. 
    Demo text, just some dummy text here. Demo text, just some dummy text here.
     Demo text, just some dummy text here. Demo text, just some dummy text here. 
     Demo text, just some dummy text here. Demo text, just some dummy text here. 
     Demo text, just some dummy text here. </p>
</div>
<script>
    function testing(){
        alert('OK for Testing');
    }
    
    function getSum(x){
        return x+100;
    }
</script>


The Objective-C code

The objective-c code looks as following. we can see that the html is loaded from a local file.

  1. fontSizeChange: is the method to change the page text size adjust, triggered by the UISlider. We just passed a string of javascript, and not interested with the return.
  2. showAlert: is the method triggered by the UIButton with title 'Show Alert'. Here the js string we passed in is actually a function call. The Alert title is related to the what we gave for baseURL in [theWeb loadHTMLString:theS baseURL:base];
  3. getjsFunctionReturn: is the method triggered by the UIButton with title 'Get Return'. In this methods, we are calling a js function with a input integer 3, get back 103.

  
- (void)viewDidLoad
{
    [super viewDidLoad];
    scale=100;
    currentFontLbl.text=[NSString stringWithFormat:@"%d%%",scale];
    NSString * path=[[NSBundle mainBundle] pathForResource:@"index" ofType:@"html"];
    NSString * theS=[NSString stringWithContentsOfFile:path encoding:NSUTF8StringEncoding error:nil];
    NSURL *base=[NSURL URLWithString:@"www.ios-local.com"];
    [theWeb loadHTMLString:theS baseURL:base];
}

- (void) webViewDidFinishLoad:(UIWebView *)webView{
    NSLog(@"webviewDidFinished");
}

- (IBAction)fontSizeChange:(UISlider*)sender{
    currentFontLbl.text=[NSString stringWithFormat:@"%0.f%%",sender.value];
    NSString * jsString=[NSString stringWithFormat:@"document.getElementById('pageWrap').style.webkitTextSizeAdjust='%@';", currentFontLbl.text];
   [theWeb stringByEvaluatingJavaScriptFromString:jsString];
}

- (IBAction)showAlert:(id)sender{
    NSString * jsString=@"testing();";
   [theWeb stringByEvaluatingJavaScriptFromString:jsString];
}

- (IBAction)getjsFunctionReturn:(id)sender{
    NSString * jsString=@"getSum(3);";
    NSString * returnS=[theWeb stringByEvaluatingJavaScriptFromString:jsString];
    NSLog(@"%@",returnS);
}


baseURL=@"www.ios-local.com"

baseURL=@"http://www.ios-local.com"

Source code can be downloaded at: Link

Sunday, March 24, 2013

Some Tips for using Apple's Devices

iOS: Double click Home Button

When you double click the physical 'Home' Button of your iPhone, the background 'running/idle' Apps will be brought up. Then, you long press any of those small icons; you will see little 'close' buttons. Most of time, you will surprisingly see a lot of 'running/idle' Apps here. Close them to free up some memory for the forefront App. There is another tip here. It supports multiple fingers touch, which means you can use 3-4 fingers to tap this area to speed up closing them.

iOS: Lock Orientation Change

Same as above, double click the physical 'Home' Button of your iPhone, scroll to the left until you see the following. Click the left most icon, which is the lock orientation button.

iOS: Quick Language Switch

Most of people just know click and change language. Change one by one click. When you press and hold, you will see the following. Hold and move your finger to the language you want and release. Doing so, you've got the language selected.

Mac: Resize Bar Icons

It is really difficult to find, if you've never been told. Look at the red highlighted spot. You know what to do. Try it!

Tuesday, December 4, 2012

iOS 6's Social Network integration

First thing I want to say: Really appreciate Apple for putting efforts to embed the social sharing functions into the iOS SDK 6.0. You know what, thousands of lines of code I used to do social sharing can be totally deleted now. Wow! It can be just less than 10 lines of code now.

To bring out the Sharing Panel above, we just need to write the code:

- (IBAction) shareButtonClicked:(id)sender{
    NSString *textToShare = @"Hello World!";
    UIImage *imageToShare = [UIImage imageNamed:@"ss.jpg"];
    NSArray *activityItems = @[textToShare, imageToShare];
    UIActivityViewController *activityVC =
    [[UIActivityViewController alloc] initWithActivityItems:activityItems
                                      applicationActivities:nil];
    [self presentViewController:activityVC animated:YES completion:nil];
}

UIActivityViewController is under UIKit, so we don't need to include any framework. What we did here was to supply the activitiyVC with a string and an image, and leave all the rest to UIActivityViewController.

Sometimes, we may not provide the sharing panel to user. If we just want to present user the facebook sharing, then we can simply user the following code:

- (IBAction)facebookShare:(id)sender{
    // need include social.framework
    SLComposeViewController *facebookPostVC=[SLComposeViewController composeViewControllerForServiceType:SLServiceTypeFacebook];
    // You can have other servicetypes for Weibo, Twitter.

    [facebookPostVC setInitialText:@"Hello World!"];
    [facebookPostVC addImage:[UIImage imageNamed:@"ss.jpg"]];
    [self presentViewController:facebookPostVC animated:YES completion:nil];

}

Very similarly, very simple codes...You will get something as following directly. As I comment in the code, we can do the same way for Twitter and Weibo. To use SLComposeViewController, we need to include Social.framework

Very simple right. I love this. However, we have to realize the drawbacks. Good things don't come out without cost... Doing this way, we have no more deep link to Facebook, no need to create App on developers.facebook. So people won't see the feed comes from your App.

Sunday, November 4, 2012

UITextField with Input from UIPickerView

Sometimes, we need an UITextField whose input is picking from an array of strings. People may popup an UIPickerView from an UIActionSheet/UIPopoverController, but it is easier to use UITextField's inputView to do this. Doing this way is more intuitive and more OOP. I would like to achieve something shown below.

To do this, I created a subclass of UITextField, called PickerTextField

In the header file, we can see it is a direct subclass from UITextField. I created some varibles: 1. sourceStringsArray to hold the array of strings to select from; 2. picker to be the inputView of the TextView. 3. pickedIndex to indicated the selected index.

pickedIndex is also declared as a property, used to be an API from other class to access it. You may wondering, how can we access the text from outside? Super easy. my_sub_class.text will give you the text, just like a normal UITextField.

The method:'{setDataSource: andPlaceHolder:}' is an important method for us to set the sourceStringsArray and the textfield's placeholder property.

First two methods are initialization, they won't be called at the same time. Please refer to the comment in the code. Also note '[super setDelegate:self];', which direct the UITextField's delegate to this subclass itself.

'{setDataSource: andPlaceHolder:}' as mentioned earlier, used to assign sourceStringsArray. It has to be called before using it. Besides, we also setup the picker here, and assign the UITextField's inputView to the picker.

 if (self.pickedIndex!=-1) {
        [self setText:[sourceStringsArray objectAtIndex:self.pickedIndex]];
    }
If you want pre-select certain element for the PickerTextField, you call assign a pickedIndex before calling the method.

The remaining code is quite straight forward. UIPickerView's delegate methods. We change the pickedIndex and the text when the picker's selection changes. The following class is only to serve as the mid-object to forward UITextFieldDelegate methods to the PickerTextField. We pre-select first element, if pickerIndex is not assigned with any value and remains -1. I tried to simply use'[super setDelegate:self]' in PickerTextField, but that will lead to infinite loop, end up have to create the PickerTextFieldHandler class to forward.

You can also download the code from git.

Friday, July 27, 2012

Size of iPhone's Photo


Device Photo Size Photo's w:d Ratio Instagram High Resolution Instagram Low Resolution
iPhone 4S 2448 x 3264 3:4 2048 x 2048 612 x 612
iPhone 4 1936 x 2592 3:4 1936 x 1936 612 x 612
iPhone 3GS 1536 x 2048 3:4 1536 x 1536 612 x 612
Recently, I need to do some research about iPhone's photoing functions. Have some figures consolidated here to share with you and also for referring back by myself.

We all know iPhone's screen size is 320 x 480 (640 x 960 for retina), and the ratio is 2:3. Physical screen's w:h ratio 2:3 and photo's w:h ratio 3:4 is close to each other, but the difference is there. If we compare these two ratios, we will find that the photo has more width. People may seldom realize the difference because Apple has done intelligent handling when you are taking the photo with the "Camera App" and when you are viewing the photo with the "Photos App".

When you use the "Camera App" to take a photo, the preview live screen has a width=320px and a height=480px-53px (the camera controls is around 53px) =427px;320:427 is about the same as 3:4. So the preview screen and the photo's w:h ratio is the same, you get exactly what you see in the live preview captured in the photo without any distortion.


Let's see what happens when you open the photo from the "Photos App". Most likely you enter the full-screen mode. Oops, how come the photo with w:d=3:4 just fits into the iPhone's screen with w:d=2:3? The secret is it doesn't really fit. When you zoom out, you will find out the full-screen photo hides small parts at left and right while fits in the height only.

When talking about iPhone photo, have to mention Instagram. Instagram is a great app with simplicity, power, fun. Instagram's photos are all square shape, no need to worry about the ratios. All images are cropped into square before processing.

Thursday, May 31, 2012

Map of iOS SDK Frameworks

I recently saw a map of iOS SDK Frameworks, and was surprised by the author's mindful effort to create it. This map should have come from Apple's developer site or xCode, but it never happened.

I problems when develop an App with lastest iOS SDK but support old iOS (e.g. base SDK: iOS 5.1,  Deployment Target: iOS4.0). When I create functions whose API is only available for iOS 5.0+, that will be a problem if I dont have this map in mind.  With the map in mind, I will be aware that I need to do some API checking before using. 

Class cls = NSClassFromString (@"UIDocument");
if (cls) {
    // Create an instance of the class and use it.
} else {
    // Alternate code path to follow when the
    // class is not available.
}
As an iOS developer, this map also help me to evaluate my skills by checking whether I am familiar with all the listing frameworks.


 the map is created by 德鲁伊@cocoachina.com(Ref)